Monday, 8 February 2016

Star Card Tutorial

 Isn't this card delightful? And rather interesting? I think so, and love making it!
Here it is all opened out! So full of beauty! And, so many options!
So here are the instructions:


Here's what mine looked like before sticking them on to the card base.


To do both front and back, repeat the process twice. Here's the small triangle for the centre.


And here's another card, where I cut unevenly a little! Still looks fabulous, but goes to show truth to the adage, measure twice and cut once!


Saturday, 6 February 2016

The wedding anniversary...

In our family, we don't have many lasting marriages....... lots of heartache and divorce. So, my husband and I try to celebrate the ones in the family that are still going strong. This week, my lovely sister and brother in laws celebrated their anniversary. My sister in law loves purple, so it goes without saying, I had to use blackberry bliss (for card stock and ribbon - which I think is now retired). 

LOVE timeless elegance DSP, even though it is hard to cut up such gorgeous stuff! Hence why the panel goes from front to back! Actually, I love it this way. The stamps are from the free gifts from sale-a-bration for when you spend $110. Only available until 15th February, so you'll need to get them ASAP!
It's a fabulous kit, and have used it extensively over the last month.


sentiment inside is from teeny tiny sentiments

The inside of the card, using Sahara Sand from pack of timeless elegance cardstock. LOVE the idea of getting just the right colours to go with a set of DSP! Totally a genius idea!


Doesn't this look amazing? Such beautiful paper.

As you can see,I used three strands of ribbon, quite a tactile feeling card, as the sentiment is embossed too! SMOOTH!

The embossing technique is so enormously enjoyable! Stamp the image with versarmark, then your colour, add clear embossing powder, apply heat tool. WATCH the yummy colour come to life! BEAUTIFUL!

 The finishing touch has to be the envelope! Using the rest of the sheet of DSP, and the envelope bunch board, this was made in minutes! AGAIN, I used a teeny tiny sentiment to create the address label. (hand delivered, or the postie could have given it to ANYONE!)

Monday, 23 November 2015

Celebrating New Life

Recently, I was blessed with another nephew. I had also just started playing with the Circle card thinlits dies. So what a grand opportunity to combine the event with a fun tool!

I love this stamp set, Zoo Babies, and it just screams to be used in a baby card! So now it was just a case of selecting the papers to go with it!

Sweet little things is an awesome designer series paper and I love the browns and blues together.

This is what I came up with. The base layer is crumb cake and layers on top is a couple of circles (to cover a teensy little mistake with my measuring) cut out of very vanilla, crumb cake and pool party. The monkey was stamped with chocolate Chip.


For a handy and easy-to-follow tutorial, I recommend you check out Patty’s Stampin Spot.

Monday, 6 July 2015

graduation cards

So, my son and his fiance recently graduated from university...... a perfect opportunity for making cards using the awesome owl builder punch and the banner punch...... here they are:


Thursday, 7 May 2015

Thank you gifts - teachers

I found this lovely quote from WB Yates:

Education is not the filling of a pail, but the lighting of a fire.
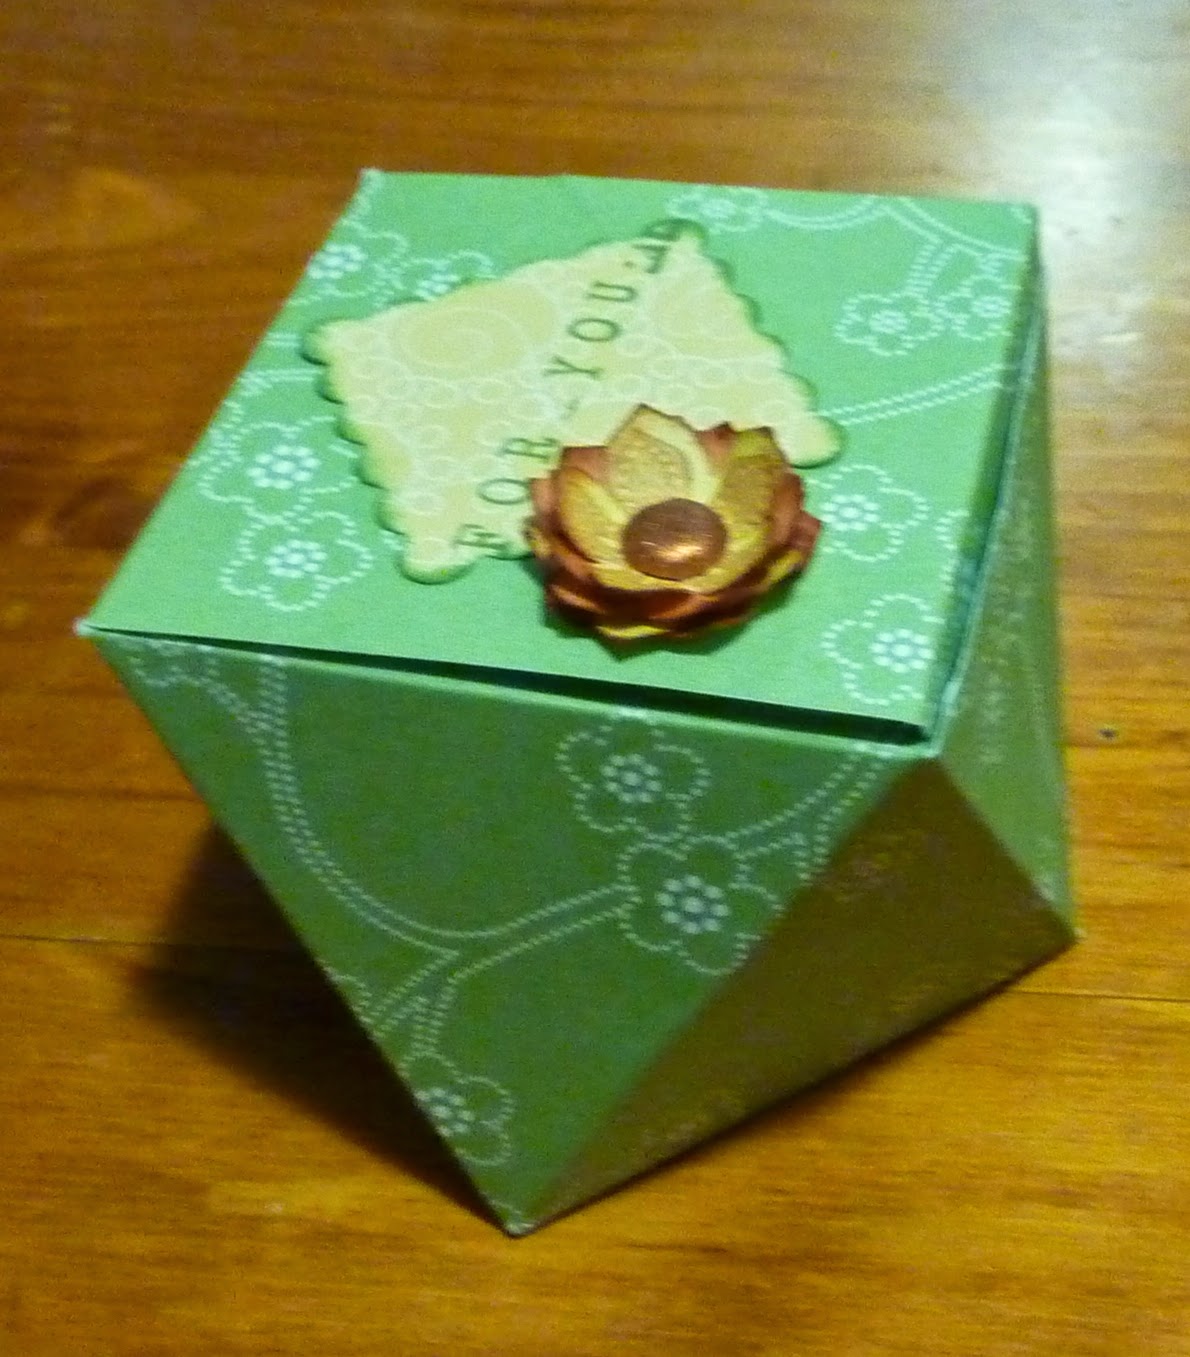
So, with that in mind, I decided to give my older school children's teachers a little thank you gift at the end of term. We hunted for some small candles and holders that would fit into a little box. I then got the boys to help make those boxes.

The instructions for these boxes can be found on the following website: http://pootles.co.uk/  (By the way, Sam is amazing with the tutorials on there, and she is super helpful!)

This is what the boys came up with:


Not bad for a six year old and an eight year old. Mr 6 even decided that he'd make one for all his teachers at school, and another one for himself!

I'm making these boxes at my next paper craft workshop on the 26th May. Follow this link to RSVP http://www.stampinup.net/esuite/home/hopefulstamping/events

The products used to make these boxes are retired Stampin' Up papers. Also used the Itty Bitty punches, bow builder bunch, a scoring board and trimmer, and cute brads.


Tuesday, 5 May 2015

First get together of Scrapbooking club.......

The girls were awesome, and showed some amazing talent in their layouts! And every single one did something totally different. We used Painted Petals papers, which I absolutely love. Beautifully feminine!


Don't you just love how Nynke pulled out the pinks in this?


Michelle's first page ever! I think we may have started a new hobby! Love the colours in this one too!


Paula forgot her photos, so had to use mine. First attempt at scrapbooking here too. Love how the page has come out!


Wonderful papers and a super gorgeous model in them! Can't wait for next month!

Thanks to hubby for the snacks!

Valentine's Cards workshop

On Tuesday night,  I hosted my first workshop. Making cards for Valentine's day. The ladies took my idea and made some awesome cards. Here are photos of the ones I managed to grab. (Some cards were camera shy).

Love the variety that we can make using the same materials and basic ideas.


We then had a play with the fun and fabulous blendabilites pens.... and again, the ladies were inspirational with what they achieved! Again, some pieces of art were camera shy! (blendabilties are currently not available)


All materials used can be found in my store! Will add links when Timmy is asleep. Enjoy for now.